

If you're looking to elevate your living room's aesthetic, a polished plaster finish could be the answer. You'll need to start with well-prepared walls and the right tools, ensuring a smooth application for that refined look. As you work through the steps, from priming to burnishing, you'll discover how lighting plays an essential role in showcasing the finish's beauty. But before you jump in, there are common pitfalls you should be aware of that can make or break your project. Let's explore those potential missteps and how to avoid them.
Preparation and Application
Achieving a flawless polished plaster finish begins with meticulous preparation and application.
Start with surface preparation; your walls should be smooth and even. Use a good primer to guarantee better adhesion—select a Quartz-based primer for coarse Venetian plaster or a smooth primer like Novalux E for finer finishes. Don't skip the drying time; letting the primer dry completely is essential for a solid foundation. Venetian plaster is known for its durability, making proper preparation even more critical.
For tool selection, grab your trowel, which you'll use at a 60 to 90-degree angle for the first coat. Apply a thin layer, using long, overlapping strokes to cover the entire surface.
Once this coat dries for at least 24 hours, you can move on to the second coat, applying it slightly thicker but with the same technique.
As you progress to the final coat, compress the plaster tightly with your trowel, guaranteeing a smooth finish. Ensuring the surface is free from debris and oils is crucial, as this directly affects the plaster's adhesion properties.
Don't forget to burnish it; applying pressure with a steel trowel enhances the shine.
With patience and precision in your preparation and application, you'll create a stunning polished plaster surface that elevates your space.
Benefits of Polished Plaster
Polished plaster brings numerous benefits that can transform your space into a stunning visual masterpiece. This versatile finish offers exceptional aesthetic enhancements, featuring a smooth, glossy surface that showcases natural color variations and textures. You can customize it with various effects to align with your interior design style, creating a unique ambiance.
Imagine the depth and richness it adds, even on flat surfaces.
Durability is another significant advantage. Polished plaster can last for decades without peeling or fading, easily resisting stains and daily wear. Its easy maintenance means you'll spend less time cleaning and more time enjoying your beautiful walls. Furthermore, incorporating fire-resistant materials like gypsum plaster in your construction can add an extra layer of safety to your home.
From a health perspective, polished plaster promotes a healthier indoor environment. Its breathability allows moisture regulation, preventing bacteria and fungi buildup, making it perfect for high-humidity areas.
Plus, it's crafted from natural materials like lime, minimizing the environmental impact often associated with synthetic finishes.
While it requires a higher initial investment, the long-term benefits, including low maintenance costs and resilience to damage, make polished plaster a wise choice for any living space.
Embrace the elegance and practicality of polished plaster for a truly remarkable home.
Polishing Techniques
To attain a flawless polished plaster finish, mastering the right polishing techniques is vital. Begin by applying the plaster in the correct direction—working from dry areas to wet ones, guaranteeing you push the material back into already applied sections. Use smooth, overlapping strokes to build texture and depth, but avoid overworking the base coats to prevent premature burnishing.
Utilize the trowel technique effectively by adjusting your angles; lower angles help with application while higher angles allow you to scrape away excess plaster. Embrace the cross-hatching method to achieve even coverage, and keep your layers thin for better adhesion. Additionally, using a high-quality Venetian plaster mix ensures optimal results and enhances the overall finish. The application process is significantly aided by maintaining a clean surface and using protective gear such as dust masks to ensure a healthy work environment.
For the burnishing process, apply pressure with a steel trowel, compressing the plaster back into itself from multiple directions. This technique guarantees a smooth finish with a consistent polish.
As you polish, use a clean trowel to go over the surface repeatedly, enhancing the polish consistency. Don't forget to check for rough spots and burnish them as necessary.
Finally, a light sanding with fine-grit paper will help achieve that desired sheen, making your living room walls a stunning focal point.
Lighting Considerations
The finishing touch of a polished plaster application isn't just about technique; it's also about the way light interacts with the surface. To truly enhance your living room's aesthetic, you'll want to layer your lighting thoughtfully.
Start with ambient lighting, which provides a soft, diffuse glow that accentuates the warm undertones of your plaster without creating harsh shadows. Ceiling fixtures and recessed lights work well to achieve this inviting atmosphere.
Next, incorporate accent lighting to highlight the rich textures and colors of your polished plaster. Use track lights or wall-mounted sconces to draw attention to architectural features or artwork, creating exciting shadows that add depth. This strategic lighting will reveal the intricate layers and brush strokes you've worked hard to perfect.
Consider the color temperature of your bulbs; warm lighting (2700K-3000K) enhances cozy tones, while cooler lighting (4000K-5000K) sharpens contemporary vibes.
Finally, don't forget about dimmable options, allowing you to adjust the mood and ambiance as needed. With these lighting considerations, your polished plaster finish will shine even brighter, transforming your living room into a stunning space. High-quality plastering ensures a smooth finish that complements any lighting design, particularly when skimming techniques are employed to create a flawless surface.
Common Mistakes to Avoid
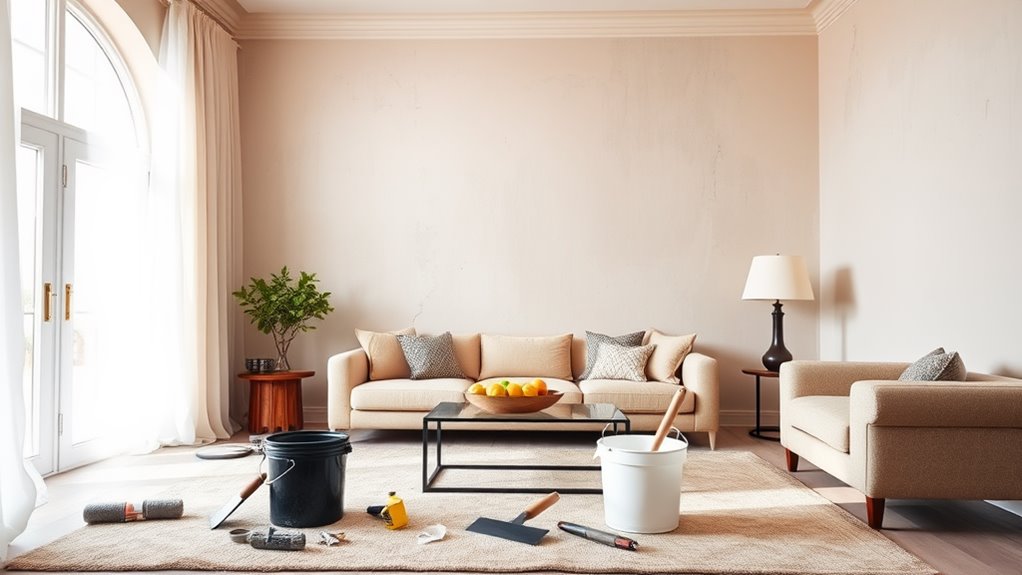
When creating a polished plaster finish, avoiding common mistakes can make all the difference between a stunning result and a disappointing one. Proper surface preparation and meticulous application are crucial to achieving that luxurious look.
Here are three key mistakes to steer clear of:
1. Insufficient Surface Preparation: Always clean and repair your walls. Fill any holes or cracks and sand rough textures. This guarantees a smooth base for the plaster to adhere to.
2. Incorrect Trowel Techniques**: Hold your trowel at the right angle and apply even pressure. Overworking the first coat** can lead to burnished areas, so be gentle.
Remember to overlap your strokes to avoid lines and uneven patches.
3. Skipping Drying Time****: Give each coat adequate time to dry before applying the next. Rushing this step can compromise the integrity of your finish, resulting in an unsightly appearance.
It is also crucial to sand the plaster lightly, using medium-grade sandpaper, to remove any imperfections before applying paint to ensure optimal adhesion and finish.
Professional vs. DIY Installation
Achieving a polished plaster finish can be a rewarding endeavor, whether you opt for professional installation or decide to tackle the project yourself.
Professional installers bring a wealth of expertise, ensuring high-quality results with minimal imperfections. Their skill set includes advanced polishing techniques and a keen understanding of lighting, which enhances the visual appeal of the plaster. However, this expertise comes with a higher cost.
On the other hand, DIY installation offers a more budget-friendly alternative. If you're willing to invest time in practice, you can learn the necessary application techniques using a steel trowel.
The preparation is essential; your walls must be smooth and primed properly. While the skill requirements for DIY may seem intimidating, the satisfaction of customizing your finish can be incredibly fulfilling.
Selecting a professional with verified credentials can significantly reduce the risk of subpar results and costly corrections down the line.
Frequently Asked Questions
How Long Does a Polished Plaster Finish Last?
A polished plaster finish can last a lifetime with proper maintenance. Focus on durability factors like wall preparation and environmental conditions, and follow maintenance tips, such as regular cleaning and sealing, to guarantee long-lasting beauty.
Can Polished Plaster Be Repaired if Damaged?
Yes, polished plaster can be repaired if damaged. You'll need effective repair techniques to restore its beauty. Prioritize damage prevention to maintain its aesthetic appeal, ensuring your walls remain stunning and resilient over time.
What Tools Are Needed for Applying Polished Plaster?
For applying polished plaster, you'll need application trowels, stainless steel tools, and sandpaper for surface preparation. Use specific trowels for different techniques, ensuring a smooth finish that enhances the aesthetic appeal of your space.
Is Polished Plaster Suitable for Bathrooms and Kitchens?
Ever wondered if polished plaster's elegance suits your bathroom or kitchen? Its benefits include breathability and antibacterial properties, but you'll need to commit to maintenance requirements like regular cleaning and monitoring for moisture damage.
How Does Polished Plaster Compare to Traditional Paint?
When considering durability comparison, polished plaster outlasts traditional paint, needing less maintenance. Its aesthetic appeal, with a luxurious, reflective surface, transforms spaces, enhancing visual impact and elevating the overall ambiance of your rooms.
Conclusion
Creating a polished plaster finish transforms your living room into a sophisticated retreat. By preparing your walls meticulously, applying the plaster with precision, and enhancing the space with thoughtful lighting, you invite beauty and elegance into your home. Avoid common mistakes, and weigh the benefits of DIY versus professional help. With patience and attention to detail, you'll achieve a stunning result that reflects your personal style and elevates your living environment to new heights.

When it comes to choosing the right plasterboard for your bathroom, there's a lot to consider. A recent survey from Read more

Have you ever wondered why plastering is so expensive? It can be a daunting task to tackle on your own, Read more

Painting directly onto plaster can be a daunting task, especially if you are not familiar with the process. While plaster Read more