
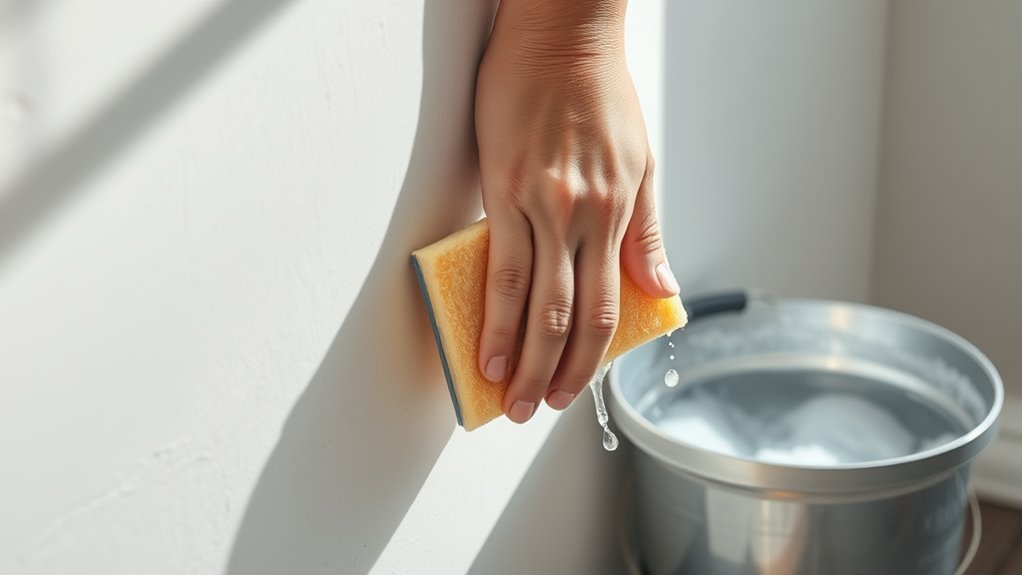
Cleaning plastered walls is like maneuvering a delicate dance; one misstep can lead to lasting damage. You need a thoughtful approach to maintain their beauty and integrity, starting with the right tools and techniques. Before you grab a sponge or cleaner, consider the nuances involved in this process—each wall can tell a different story based on its condition. What’s essential for preserving that story while ensuring your walls remain pristine? The answer involves a mix of preparation and care that might surprise you.
Pre-Cleaning Preparation
Pre-Cleaning Preparation
Before you start cleaning your plastered walls, it’s essential to prepare properly. First, conduct a thorough wall inspection to identify any stains, dirt, or damage. This step helps you choose the right cleaning solutions.
For general cleaning, a mild soapy solution works well—mix one part mild dishwashing liquid with four parts warm water. If you’re facing stubborn stains, consider using a TSP solution, combining one cup of TSP with two gallons of warm water.
Gather your materials before diving in. You’ll need soft cloths or sponges to avoid scratching the plaster surface, a soft bristle brush for loosening debris, and clean towels for drying. Remember, don’t use abrasive tools or harsh chemicals, as they can damage the plaster. Additionally, ensuring paint adheres properly to the surface is crucial for a long-lasting finish.
When you’re ready to clean, work in gentle circular motions to preserve the finish. Always rinse off any residue with clear water and dry the wall thoroughly to avoid streaks. It is also important to understand that plaster is a mixture of gypsum, water, sand, and fiber, which requires proper handling and care.
Regularly inspect your walls and maintain a cleaning schedule to prevent dirt build-up, ensuring your plastered walls stay looking fresh and beautiful.
Dusting and Vacuuming
Starting with dusting and vacuuming is essential for maintaining clean plastered walls. Employ effective dusting techniques to remove dust without damaging the surface. A soft bristle brush is ideal for gently sweeping away debris, while microfiber cloths help prevent scratches.
Always dust from top to bottom using sweeping motions to avoid resettling dust. Remember to clean your brushes regularly during use to guarantee they don’t redeposit debris.
When it comes to vacuuming methods, use a vacuum with a HEPA filter attachment to capture fine particles. Soft brush attachments are perfect for gentle cleaning.
Start from the top, moving slowly and steadily to guarantee thorough dust removal. Regular vacuuming not only maintains cleanliness but also prevents dust buildup, so make it a routine. Additionally, effective post-construction cleaning improves air quality and reduces health risks.
For best results, consider vacuuming first, followed by dusting. After dusting, a damp cloth can help pick up any remaining residue.
Always handle your plastered walls gently to avoid scratches or damage. By combining these dusting and vacuuming techniques, you’ll keep your walls looking fresh and clean.
Spot Cleaning Stains
Tackling stains on plastered walls can seem intimidating, but with the right approach, you can effectively restore their appearance.
Start by identifying the type of stain and preparing the area for cleaning. Here’s how:
- Ensure the area is dry to prevent further damage. Addressing the underlying cause of water intrusion is crucial before treatment.
- Remove excess debris with a soft brush or cloth.
- Test your cleaning solution on a small, hidden area to avoid damaging the finish.
- Wear protective gear like gloves and eyewear to shield yourself from irritants.
For stain identification, follow these tips: for water stains, use a mild soap solution; for oil or grease stains, mix liquid soap with warm water; for mold, scrub with bleach or vinegar; and for ink marks, blot gently with isopropyl alcohol.
Once you’ve identified the stain, apply the appropriate cleaning solutions. Use a sponge for water-based stains, and work in gentle circular motions for oil-based ones.
Allow the solution to sit before wiping it clean. Dry the area thoroughly to avoid watermarks, and you’re on your way to beautifully cleaned plastered walls!
Washing the Walls
After you’ve effectively spot cleaned any stains, the next step is washing the walls to remove general dirt and grime. Start by ensuring the room is well-ventilated to avoid inhaling dust and to prevent moisture buildup.
Lay down drop cloths or old towels to protect your flooring from drips and spills. Use a vacuum cleaner with a soft brush attachment to remove loose dust and debris, then gently dust the walls with a microfiber cloth.
For your cleaning solution, a mild soap and warm water mixture works well for general dirt. If you face stubborn stains, consider using a trisodium phosphate (TSP) solution or vinegar mixed with warm water.
Dampen a soft sponge or cloth with your chosen solution, wringing it out well to avoid saturating the plaster. Lightly scrub in circular motions, working in sections, and dry each area with a clean towel to prevent water absorption.
Rinse the washed sections with clean water and dry them immediately to avoid water spots. Regular cleaning frequency will help maintain the plaster’s integrity, ensuring long-lasting wall protection for your home.
Dealing With Water Stains

Water stains can be a frustrating sight on your plaster walls, but addressing them promptly can prevent further damage. Here are some practical steps to deal with those pesky stains:
- Identify the stains: Look for yellow or brown discoloration, bubbling paint, or signs of crumbling plaster. Early detection of moisture buildup is key.
- Prepare your cleaning solution: Mix equal parts bleach and water in a spray bottle or bowl. Always wear rubber gloves and protective eyewear for safety.
- Apply the solution: Dab or mist the mixture onto the stain, but be careful not to oversaturate the surface. Let it sit for about 15 minutes.
- Dry the area thoroughly: Use fans or heat guns to guarantee the area is completely dry before proceeding. This helps prevent mold growth.
After cleaning, consider applying waterproof coatings or moisture barriers to protect your plaster walls from future water damage.
Regular inspections can help you catch potential issues early, keeping your walls looking fresh and intact.
Don’t forget to address the source of the water to guarantee long-term prevention!
Post-Cleaning Care
Regular post-cleaning care is vital for maintaining the integrity and appearance of your plaster walls. Start by thoroughly drying damp areas with a clean, soft towel to prevent water absorption.
Implement effective care techniques by dusting and vacuuming regularly using a soft brush attachment to keep surfaces clean without scratching. Seasonal inspections, ideally every spring and fall, are essential for spotting moisture damage or staining early. During these inspections, check for cracks and promptly address any issues to avoid further damage.
Maintain a stable indoor environment by controlling temperature and humidity levels, and use dehumidifiers in humid areas. Avoid abrasive cleaners and excessive water, as they can erode plaster.
Consider applying a primer and paint to protect your walls, and provide good ventilation to prevent moisture buildup. It’s also wise to use protective corner beads or moldings to minimize wear and tear.
Touching the walls can help you detect any dampness or temperature fluctuations that might signal hidden problems. By incorporating these practices into your routine, you’ll guarantee your plaster walls remain beautiful and structurally sound for years to come. When preparing your plaster walls for painting, remember that three coats of paint are typically required to achieve a smooth and professional-looking finish.
Repairing Damaged Areas
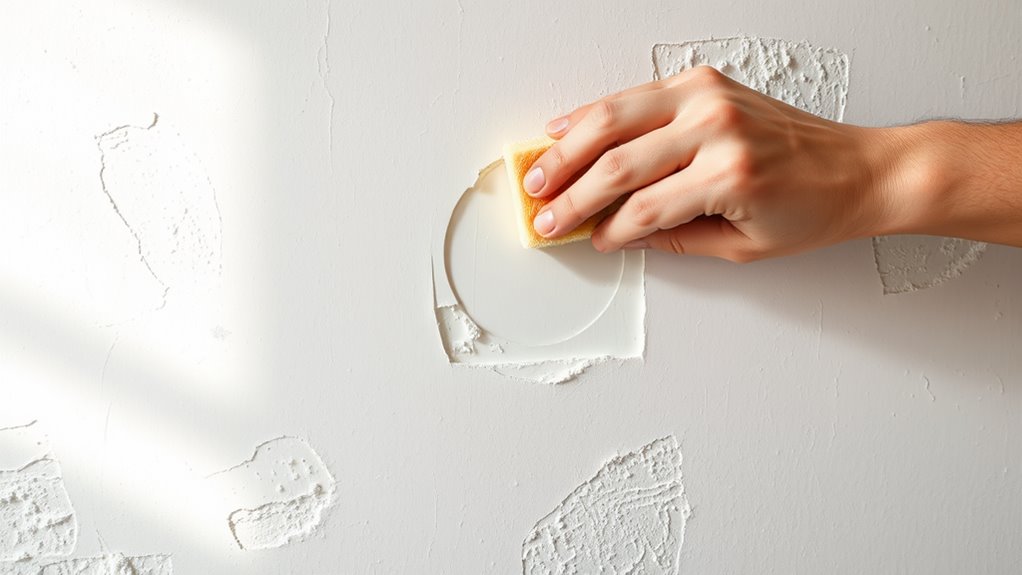
When you notice cracks or holes in your plaster walls, addressing these issues promptly can prevent further damage and maintain the aesthetic appeal of your space.
Start with a thorough crack assessment to identify loose plaster areas. Here’s a practical approach to repairing damaged areas:
- Identify Loose Plaster: Locate and mark the loose sections to secure them effectively.
- Reattach Plaster: Use plaster washers to reattach loose plaster to the joists or studs for plaster stabilization.
- Apply Scratch Coat: For larger holes, mix plaster to a peanut butter consistency and apply to the damaged area, ensuring it adheres well.
- Trowel on Second Coat: Smooth a thinner layer of plaster over the scratch coat, making it flush with the wall surface.
Once these steps are complete, consider applying a skim-coat to create a smooth finish. Regular maintenance is key to preventing future damage, so keep an eye on your walls. For long-term benefits, it’s essential to invest in quality plastering techniques to enhance property value.
Choosing the Right Tools
Selecting the right tools for cleaning plastered walls is vital to maintain their integrity and appearance. Start with quality cleaning equipment. A vacuum cleaner equipped with a soft brush attachment is important for effective dust removal. Make certain it has a HEPA filter to capture fine particles.
When using a soft-bristled brush, employ gentle, sweeping motions to avoid damaging the plaster.
For the actual cleaning, opt for a mild soap and water solution or a vinegar solution. Dampen a soft sponge or cloth, wring it out well, and lightly scrub the walls in a circular motion. Always test your cleaning solution on a small area first to confirm it won’t harm the plaster.
Specialized tools can enhance your cleaning process. A microfiber cloth is perfect for removing any residue and achieving a smooth finish.
For larger projects, consider using a cleaning machine like the Tornado ACS. Additionally, long reach scrapers can help you efficiently clean tough areas like plaster on brick walls.
Understanding the plastering process is essential for effective cleaning and maintaining plastered walls.
Avoiding Common Mistakes

Cleaning plastered walls can be tricky, and avoiding common mistakes is essential to preserving their quality. Here are four key points to keep in mind:
- Limit Water Usage: Use minimal water during cleaning. Dampen your cloth or sponge, but don’t soak it. Excessive water can lead to mold growth and wall damage.
- Choose Gentle Tools: Avoid abrasive tools that can scratch the surface. Opt for soft sponges or cloths and gently blot stains instead of scrubbing.
- Opt for Mild Solutions: Steer clear of harsh chemicals. Stick to mild dish soap and warm water for cleaning. This prevents chemical damage to the plaster.
- Regular Wall Inspections: Schedule frequent inspections of your walls to catch any issues early. Regular dusting can also reduce the need for more intensive cleaning.
Maintaining Plaster Longevity
Maintaining the longevity of plastered walls is vital for preserving their aesthetic appeal and structural integrity. To achieve effective plaster preservation, start with regular cleaning. Dust surfaces with a microfiber cloth to prevent dirt buildup, and use a soft, damp cloth for wiping down walls.
When necessary, apply a mild soap solution with a soft sponge for stubborn marks, always avoiding harsh chemicals that can damage the plaster.
Moisture control is essential for preventing damage. Fix any leaks promptly, and use dehumidifiers in humid areas to maintain appropriate moisture levels. Guarantee proper ventilation to prevent moisture buildup, and conduct regular inspections for cracks or signs of wear, especially during seasonal changes.
For long-term maintenance, consider repainting every few years to protect the plaster and keep the walls looking fresh. Adding protective corner beads can help reduce wear on high-traffic areas.
Finally, periodically inspect the lath and plaster surfaces for any signs of damage, addressing issues quickly to maintain the integrity of your walls and prolong their lifespan.
It’s also crucial to wait until the plaster is fully dry before applying any paint to avoid cracking and peeling, ensuring a durable and long-lasting finish.
Frequently Asked Questions
Can I Use a Pressure Washer on Plastered Walls?
You shouldn’t use a pressure washer on plastered walls due to pressure washer safety concerns. Instead, consider gentle cleaning methods for plaster wall maintenance, as high pressure can cause significant damage and long-term issues.
How Often Should I Clean My Plastered Walls?
For effective wall maintenance, you should establish a regular cleaning frequency. Clean every few months to prevent dust buildup, inspect for damage, and guarantee a healthy environment—keeping your plastered walls looking great and lasting longer.
What Are the Signs of Mold on Plaster?
You’ll notice mold on plaster through visible growth, musty odors, and dampness. For effective mold prevention, maintain proper plaster maintenance by controlling humidity, fixing leaks, and ensuring proper ventilation in high-moisture areas.
Can I Paint Over Cleaned Plastered Walls?
Yes, you can paint over cleaned plastered walls. Just guarantee proper wall preparation by priming and using suitable painting techniques. This enhances adhesion and durability, leading to a smooth, professional finish in your painting project.
Is It Safe to Use Vinegar on Plaster?
Using vinegar on plaster is like walking a tightrope; it offers cleaning benefits but risks plaster damage. Dilute it, test first, and remember: gentle solutions typically preserve your plaster’s beauty without unnecessary harm.
Conclusion
Cleaning plastered walls may seem intimidating, but with the right approach, it’s manageable. Don’t worry if you think your walls are too delicate; using gentle methods like a soft brush and mild soapy solutions guarantees you won’t cause damage. Regular maintenance and quick repairs go a long way in preserving their beauty. By following these steps, you’ll keep your walls looking fresh and vibrant without the risk of harming them. Start today for lasting results!

When it comes to choosing the right plasterboard for your bathroom, there's a lot to consider. A recent survey from Read more

Have you ever wondered why plastering is so expensive? It can be a daunting task to tackle on your own, Read more

Painting directly onto plaster can be a daunting task, especially if you are not familiar with the process. While plaster Read more