
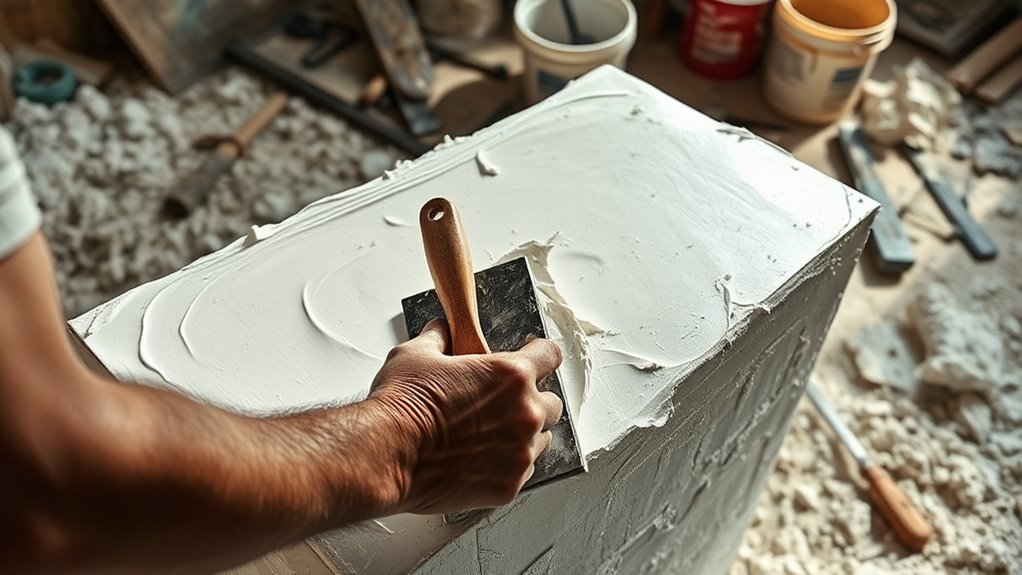
When you're faced with the aftermath of a flood, the sight of damaged plaster can be overwhelming. You need to assess the extent of the water damage, but it's vital to approach the repair process methodically. Removing the damaged plaster is just the beginning; you'll also have to take into account moisture-resistant materials and proper techniques to guarantee lasting results. Yet, there's more to this than just patching up walls—what about safety and prevention for the future? Understanding these elements can make all the difference.
Assessing Water Damage
When evaluating water damage, it's crucial to act quickly to mitigate further issues.
Begin by identifying and sealing any points of water intrusion to prevent additional damage. Open windows and doors, and utilize fans to expedite the drying process, as moisture can lead to mold growth. Additionally, consider removing baseboards or poking holes for ventilation to enhance airflow and aid in drying.
Conduct a thorough visual inspection for signs of damage and initiate a mold evaluation, particularly in areas below four feet if your walls are gypsum wallboard.
Don't forget to protect yourself while working; wear gloves, safety glasses, a cap, and an N95 or N100 respirator.
Document the situation meticulously by taking photographs for insurance purposes and to accurately capture the extent of the damage.
Use inundation maps to pinpoint flooded areas and measure the depth of water, as this will assist in evaluating potential structural damage.
Inspect electrical and plumbing systems for leaks and damage, and check the roof for any leaks, covering compromised areas with a tarp until repairs can be arranged.
Prioritize your findings, focusing on areas that require immediate attention to limit further complications and costs. It is important to consider the durability and strength of plaster in repair processes, particularly its effectiveness in hardening and smoothing out concrete surfaces, which can be critical in restoring structural integrity.
Removing Damaged Plaster
After evaluating the extent of water damage, the next step involves removing any damaged plaster to prevent further complications. You should prioritize safe demolition to guarantee a smooth process.
Here are some effective plaster removal techniques to take into account:
- Wear protective clothing, goggles, and gloves to prevent injury from plaster fragments.
- Use a dust mask and ear plugs to safeguard against inhalation and hearing damage.
- Inspect walls for any wiring or pipes to avoid damaging them during the removal process.
- Support the wall perimeter with 2" x 1" boards to maintain structural integrity.
Additionally, it's crucial to ensure that all utilities are disconnected before starting the removal process to prevent accidents.
Begin by carefully tapping at the plaster with a hammer to loosen it. Once you've done that, employ a scraper to lever off stubborn pieces without harming the lath underneath.
If you encounter wooden strips (lath), pry them away gently; for metal mesh lath, use metal cutters. Discard all damaged materials safely to keep your workspace clear and organized.
Following these steps won't only help you remove damaged plaster effectively but also set the stage for a successful repair process.
It is essential to understand that plaster is a mixture of gypsum, sand, and water which requires careful handling to prevent further damage to the lath and surrounding structures.
Preparation for Repair
Preparing for plaster repair in flood-damaged homes requires a thorough assessment of the damage and a strategic approach to assure effective restoration. Start by identifying the signs of damage, such as discoloration, bubbling paint, and soft spots. These symptoms indicate moisture issues that must be addressed before proceeding with repair techniques. Additionally, be aware that prolonged exposure to moisture can significantly weaken plaster, making it crucial to address any underlying issues promptly.
To ensure professional results, it is recommended to hire a plasterer experienced in various plastering services, including skimming and floating.
Next, implement moisture control measures. Utilize fans and dehumidifiers to expedite drying, while opening windows to promote airflow. Avoid heat sources, as rapid drying can lead to cracking.
Here's a quick reference table to aid in your preparation:
| Damage Signs | Drying Techniques | Preventive Measures |
|---|---|---|
| Discoloration | Use fans and dehumidifiers | Fix the source of water damage |
| Bubbling or peeling | Injector Dry technology | Seal holes and gaps |
| Soft spots | Monitor drying to prevent mold growth | Check for sagging ceilings or floors |
Finally, prioritize safety. Wear protective gear, ventilate the area, and assure electrical safety to mitigate hazards during the repair process. Following these steps will lay a solid foundation for successful plaster restoration.
Repairing Plaster Walls
Repairing plaster walls in flood-damaged homes demands a meticulous approach to restore structural integrity and aesthetics.
Begin by identifying and securing loose areas. Use 2-inch screws with perforated plaster washers to anchor the plaster to joists or studs. After stabilizing, apply fiberglass mats for added support. These mats should be embedded in a latex-like base coat, following manufacturer instructions.
Consider these essential steps:
- Locate and secure joists or studs.
- Apply a scratch coat of lime-based plaster for breathability.
- Use repair tools like a taping knife for a smooth finish.
- Treat efflorescence by sealing any water intrusion points.
Once the fiberglass mat is in place, skim-coat over it with joint compound. You may need multiple coats to achieve a finish that mimics the surrounding texture.
Don't forget to saturate lath and exposed edges with plaster conditioner before applying new plaster and use bonding agents to guarantee a strong adhesion between new and old materials.
A reliable contractor specializing in plaster repair techniques is essential for ensuring long-lasting and high-quality results.
Severe Damage and Replacement
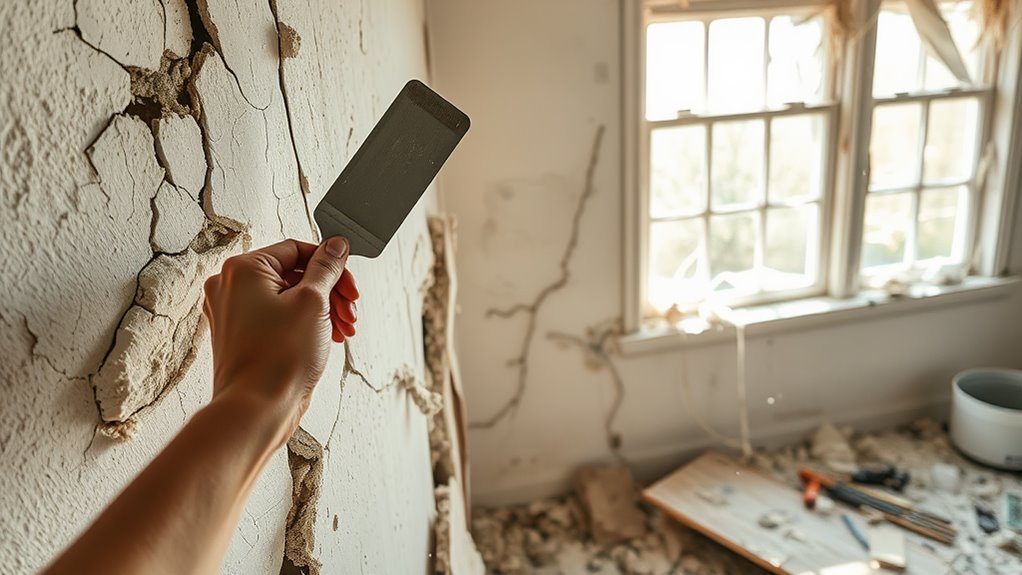
Severe damage to plaster walls often necessitates a thorough assessment and replacement strategy to confirm safety and aesthetic continuity.
You'll need to identify the extent of the damage, which may include deep cracks and extensive water absorption. Water can compromise the wooden structure beneath the plaster, leading to further complications like mold growth, which can affect air quality.
Once you assess the damage, you'll likely need to replace the plaster board. Start by removing the damaged plaster using a knife-like tool to eliminate any mold and affected areas.
Seal these areas with special primer-sealers before applying new plaster. This process guarantees that the new plaster types match the existing wall color and blend seamlessly.
Keep in mind that repair costs can vary considerably based on the damage's severity and the materials used.
Engaging a professional is advisable for extensive damage, as they can ensure proper removal and installation techniques are employed. This investment not only confirms safety but also enhances the longevity of your walls, ultimately providing peace of mind in your home's restoration.
Selecting a reputable company with expertise in various plastering techniques, such as flat skimming, is crucial for high-quality results.
Flood Safety Precautions
Flood safety precautions are essential for minimizing damage and guaranteeing safety before, during, and after a flood event. Understanding your flood risk is the first step in effective flood management. If you live in a flood-prone area, consider elevating critical home components and employing temporary barriers to protect your property.
Here are key flood safety measures to follow:
- Identify flood risk by consulting local flood maps.
- Retrofitting properties with elevated appliances and check valves can greatly reduce water damage.
- During a flood, shut off electricity and move valuables to higher ground to safeguard them.
- Deploy temporary barriers such as sandbags and inflatable floodwalls to help divert water away from your home.
After a flood, inspect for structural damage before re-entering. Clear debris and check for leaks. Use protective gear when handling contaminated items.
Floodproofing Techniques

How can you effectively safeguard your home against the damaging effects of floods? Implementing effective floodproofing techniques is essential, especially in high-risk areas.
Elevation techniques are a primary strategy; by raising your home on piles, columns, or raised foundations, you can mitigate floodwater impacts. It's also important to incorporate flood-resistant materials like insulated concrete forms (ICFs) during construction. Elevating electrical components, such as service panels and outlets, at least one foot above potential flood levels further enhances your home's resilience.
In addition to elevation, consider dry floodproofing methods. This involves sealing basement and foundation walls with waterproofing compounds to prevent water intrusion. Installing flood-resistant doors and windows is critical, as is making certain that airbricks and utility entry points are adequately sealed or raised.
A sump pump can be a valuable addition to your floodproofing arsenal, providing an extra layer of protection against water accumulation.
Finally, adapting your landscaping by adding berms and walls can help divert floodwaters away from your home. By combining these techniques, you can greatly reduce the risk of flood damage and secure your home remains safe and sound.
Flood Insurance Considerations
Understanding flood insurance factors is essential for homeowners in flood-prone areas. Flood insurance can be a critical component of your financial preparedness, especially if you live in a Special Flood Hazard Area (SFHA) where coverage is mandatory.
You need to be aware of the various flood insurance types available, including policies under the National Flood Insurance Program (NFIP), which offer residential coverage limits of $250,000 for buildings and $100,000 for contents.
Here are some key points to reflect on:
- Mandatory Coverage: Required for properties in designated flood zones, indicated by FEMA flood maps.
- Policy Features: NFIP policies include separate deductibles for building and contents coverage.
- Coverage Gaps: Standard homeowners insurance doesn't cover flood damage, making flood insurance necessary.
- Waiting Period: Most flood insurance policies have a 30-day waiting period before they become effective.
Frequently Asked Questions
How Can I Prevent Mold Growth After Water Damage?
To prevent mold growth after water damage, implement effective moisture control methods. Utilize dehumidifiers, remove wet materials promptly, and apply mold prevention tips like antimicrobial sprays to affected surfaces. Regular inspections help catch potential issues early.
What Tools Do I Need for Plaster Repair?
"Measure twice, cut once." For plaster repair, gather fundamental plaster tools like utility knives, trowels, sandpaper, and mixing buckets. Mastering repair techniques guarantees a smooth finish and long-lasting results. Safety gear's vital, too!
How Long Does Plaster Repair Typically Take?
Plaster repair typically takes 3 to 7 days, depending on plaster drying conditions and repair techniques used. Factors like thickness, humidity, and temperature greatly influence the overall drying time and effectiveness of your repair efforts.
Can I Repair Plaster Myself or Hire a Professional?
Did you know 70% of homeowners tackle DIY repairs? If you've got minor damage, try DIY plastering tips. For extensive issues or structural concerns, consider professional services to guarantee safe, effective repairs.
What Signs Indicate I Need a Complete Wall Replacement?
If you notice significant bulging, extensive discoloration, or soft spots affecting wall integrity, consider a complete replacement. Weigh repair costs against the long-term benefits of ensuring a safe, structurally sound environment for your home.
Conclusion
In the end, you might find that repairing flood-damaged plaster isn't just about restoring your home but also about embracing the unexpected journey of homeownership. Who knew a little water could lead to such a transformative experience? By following the steps outlined, you not only reinforce your walls but also fortify your resilience. So, while you're at it, consider this a unique opportunity to upgrade your living space—after all, nothing says "home" like a fresh coat of plaster post-flood!

When it comes to choosing the right plasterboard for your bathroom, there's a lot to consider. A recent survey from Read more

Have you ever wondered why plastering is so expensive? It can be a daunting task to tackle on your own, Read more

Painting directly onto plaster can be a daunting task, especially if you are not familiar with the process. While plaster Read more