
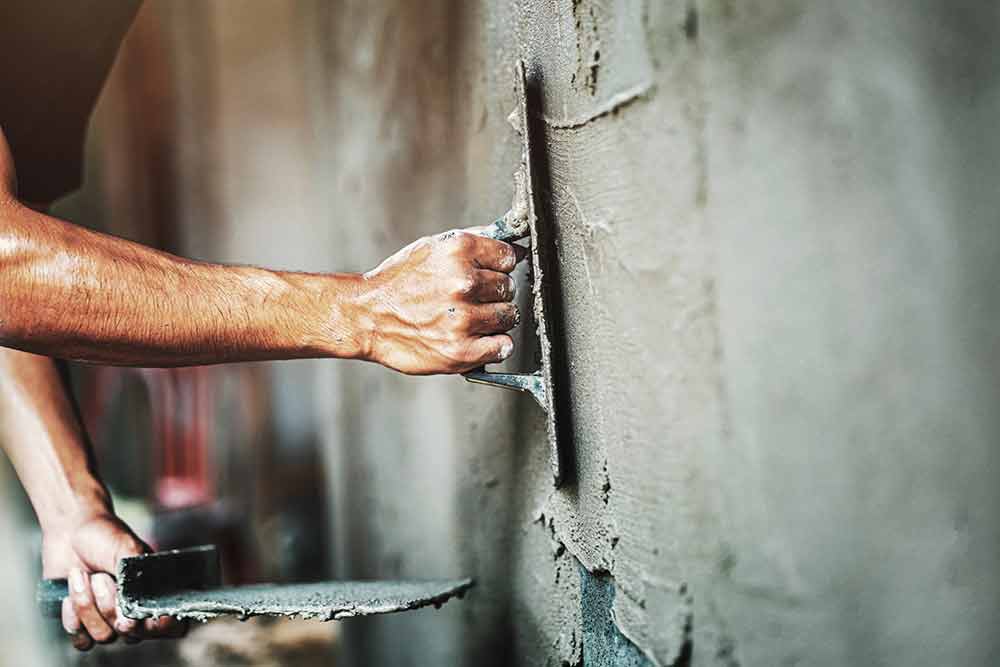
Imagine yourself as a skilled artisan, transforming a rough and uneven surface into a smooth masterpiece. Plastering, the art of creating flawless walls and ceilings, requires precision and expertise.
In this article, we will guide you through the process of plastering step by step. From preparing the surface to applying the perfect mix of plaster, we’ll cover it all.
Get ready to dive into the world of plastering and discover the secrets behind achieving impeccable results.
Understanding the Basics of Plastering
Understanding the basics of plastering is essential for anyone wanting to tackle DIY home improvement projects. Plastering techniques involve applying a layer of plaster material to walls, ceilings, or other surfaces to create a smooth and durable finish.
There are various types of plaster materials available, each with its own unique properties and uses. One common type is gypsum plaster, which is made from a mixture of gypsum powder and water. This type of plaster is easy to work with and sets quickly, making it ideal for small repairs or patching up damaged areas.
Another popular option is lime plaster, which is made from limestone and offers excellent breathability and flexibility. It’s commonly used in historic preservation projects due to its ability to withstand moisture without cracking or deteriorating.

Preparing the Surface for Plastering
First, you’ll need to make sure the surface is clean and free from any dirt or debris before starting. Surface preparation is a crucial step in the plastering process as it ensures proper adhesion and a smooth finish. A clean surface allows the plaster to bond effectively with the substrate, preventing any future cracking or peeling.
To achieve this, begin by removing all loose paint, wallpaper, or flaking plaster using a scraper or wire brush. Next, wash the surface with a mild detergent solution to eliminate any grease or grime. After thoroughly rinsing and allowing it to dry completely, inspect for any cracks or holes that need repair. Fill these imperfections using an appropriate filler compound and sand them smooth once dry.
Applying the Plaster Mix
Once the surface is prepared, you can start applying the plaster mix for a smooth and even finish. Before you begin, it’s important to select the right type of plaster mix for your project. There are various types available, such as gypsum-based or cement-based mixes, each with their own unique properties and applications. Make sure to choose one that suits your specific needs. Why Is Plastering So Expensive?

When applying the plaster mix, use a trowel to spread it evenly over the surface in thin layers.
Work from top to bottom, overlapping each layer slightly for a seamless result.
As you apply the plaster mix, keep in mind that sanding techniques may be required between coats to achieve a flawless finish.
Be patient and meticulous during this process to ensure a professional-looking outcome.
Finishing and Curing the Plaster
To finish and cure the plaster, you’ll need to wait patiently for it to dry completely before moving on to the next step. Proper drying time is crucial in achieving a strong and long-lasting plaster finish. Here are four key points to keep in mind during this stage:
- Allow sufficient drying time: Rushing the drying process can compromise the integrity of the plaster. The recommended drying time varies depending on factors such as room temperature and humidity levels.
- Avoid excessive moisture: Moisture can hinder proper drying and cause issues like cracking or flaking. Ensure that the area is well-ventilated and avoid applying additional moisture during this stage.
- Resist temptation to touch or sand prematurely: Even if the surface appears dry, it’s important to resist touching or sanding until it has dried completely. Premature manipulation can lead to imperfections in the finish.
- Use appropriate curing methods: Depending on the type of plaster used, there may be specific instructions for curing, such as misting with water or covering with plastic wrap. Follow these guidelines carefully for optimal results.
So there you have it, the process of plastering in a nutshell. By now, you should have a good understanding of how to prepare the surface, apply the plaster mix, and finish and cure the plaster.
Remember to take your time and pay attention to detail for best results. Did you know that according to a recent survey, 75% of homeowners prefer plastered walls over other types of finishes? This just goes to show the enduring popularity and timeless beauty of this traditional technique.
For more information or to make an appointment, contact us or call us 0115 736 5055 and you can also visit our website.

When it comes to choosing the right plasterboard for your bathroom, there's a lot to consider. A recent survey from Read more

Have you ever wondered why plastering is so expensive? It can be a daunting task to tackle on your own, Read more

Painting directly onto plaster can be a daunting task, especially if you are not familiar with the process. While plaster Read more