

Yes, you can remove render yourself, but it's essential to start with a thorough assessment of the render's condition, pinpointing any cracks, detachment, or moisture issues. You'll need proper tools like a hammer, chisel, and safety gear, including goggles and gloves. Start by identifying the render type—cement, lime, or polymer—as this will dictate the most effective removal method. Approach the task systematically, using your tools at weakened points and clearing debris as you go to check the underlying surface. If you encounter resistant areas, a pneumatic hammer might be necessary. Proper aftercare guarantees a clean site and prepares it for the next steps. By equipping yourself with detailed techniques, you'll secure lasting results and a safer work environment.
Assessing the Current Render
Before attempting to remove existing render, you must thoroughly assess its condition to identify any signs of cracking, detachment, or moisture penetration. This initial evaluation is essential, as the underlying state of the render can greatly influence both the method of removal and the subsequent steps in wall preparation.
Start by examining the type of render. Common types include cement, lime, and polymer renders, each with distinct properties and adherence characteristics. Cement renders are hard and may crack under structural shifts, while lime renders are more breathable but can degrade with excessive moisture. Polymer-modified renders, on the other hand, are designed for enhanced flexibility and water resistance.
Next, scrutinize the render's surface and the interface with the wall. Look for any loose sections or areas where the render has pulled away from the substrate. These defects typically indicate a deeper issue, such as improper application or inherent dampness within the wall. Such findings will dictate the meticulousness required in the removal process to avoid further damage to the structural integrity of the wall.
Wall preparation post-render removal will depend heavily on the initial assessment. Efficiently identifying and addressing these issues guarantees a smoother renovation process, reducing potential complications during re-rendering or other finishes.
Necessary Tools and Materials
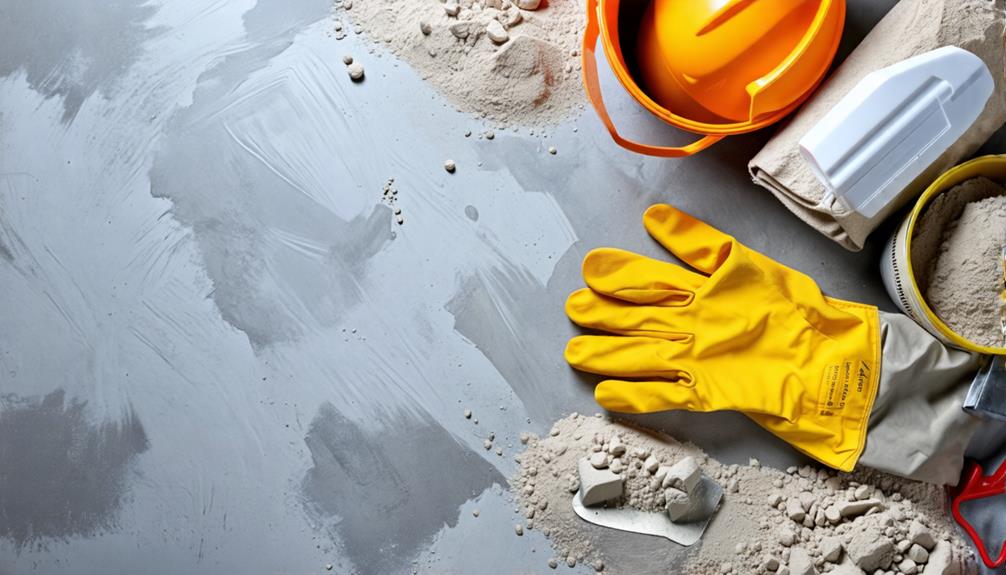
To effectively remove render, you'll need a range of specialized tools and materials, including a hammer, chisel, safety goggles, and protective gloves. Depending on the render types and removal methods, the complexity of the task can vary considerably. For instance, removing cement-based render might require more robust tools compared to a lime-based render, which is generally softer.
Materials such as a dust mask and ear protection are vital, as render removal can generate considerable noise and dust. You'll also need a sturdy ladder or scaffolding if you're working at height. To guarantee compatibility with your removal method, it's important to choose the right type of chisel; a pointed chisel is often more effective for breaking through tougher render.
Here's a quick reference to match tools with render types:
| Render Type | Recommended Tools |
|---|---|
| Cement-based | Heavy-duty hammer |
| Lime-based | Standard chisel |
| Acrylic | Soft mallet |
| Silicone-based | Flexible scraper |
Step-by-Step Removal Process
Start by donning your safety gear, including goggles, gloves, and a dust mask, to protect against debris and dust particles.
Identifying the render type on your walls is essential, as it determines the appropriate removal techniques. Cement-based renders, for instance, require different handling than lime-based or acrylic renders.
Firstly, inspect the render for any visible cracks or separation from the substrate, which can simplify the removal process.
Using a hammer and chisel, begin at these weakened points, gently tapping to avoid substrate damage. If you're dealing with a stubborn, well-adhered render, consider using a small power tool like an SDS drill with a chisel attachment to increase efficiency.
As you progress, use a masonry brush to clear away loose debris, maintaining a clear view of the work area. This step is important for evaluating the render's adhesion as you proceed.
For larger sections, a mechanical angle grinder fitted with a diamond cutting disc can be employed to score the render, facilitating easier manual removal of large chunks.
Handling Potential Complications
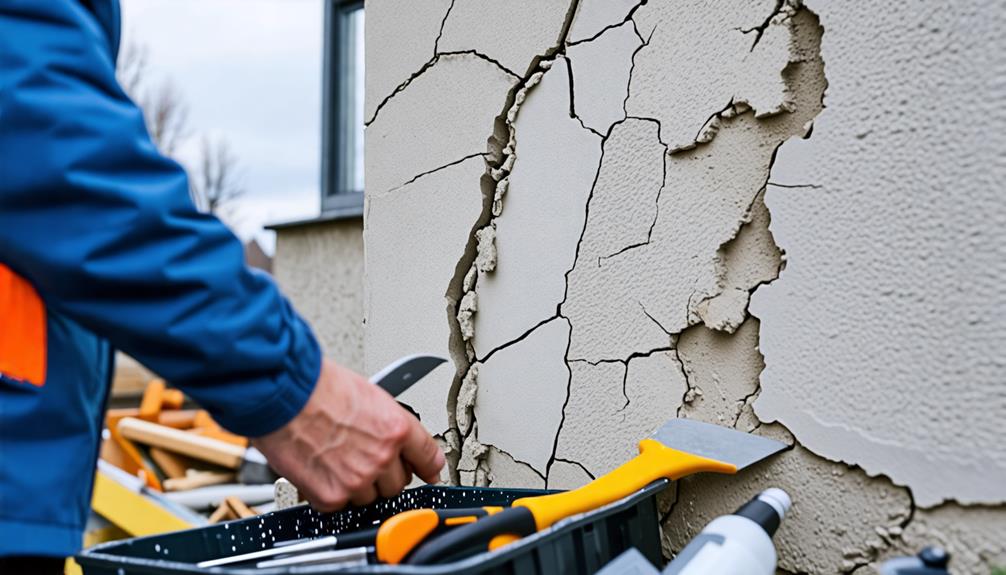
When removing render, you may encounter complications such as unexpected adhesion strength or damage to the underlying substrate.
Effective complication management involves first evaluating the extent of adhesion and the type of render used. If the render is unusually resilient, consider employing a more robust mechanical method such as a pneumatic hammer or an electric chisel. Be mindful, though, as these tools can exacerbate substrate damage if not used with precision.
In cases where the substrate is damaged, it's essential to stabilize the area before proceeding. Apply a bonding agent that's compatible with both the substrate and the new render you plan to use. This guarantees adhesion and reduces future risks of delamination.
If continual complications arise, exploring render alternatives might be your best bet. For instance, a lighter acrylic render might adhere more effectively without imposing too much stress on the substrate. Alternatively, mineral-based renders offer enhanced breathability, which can be particularly beneficial for older buildings prone to moisture issues.
Choosing the right approach requires balancing efficacy and substrate integrity. Don't rush your decisions; instead, weigh each potential solution's benefits and drawbacks to guarantee long-term durability and aesthetic appeal of your building's façade.
Safety Precautions and Gear

Before attempting to remove render, make sure you're equipped with the appropriate safety gear, including gloves, goggles, and a dust mask to protect against airborne particles. This protective equipment is vital to mitigate risks such as inhalation of dust, debris contact with eyes, and skin abrasions.
Adhering to safety guidelines is important when dealing with construction materials. Verify that your goggles are ANSI approved to withstand impact and provide adequate eye protection. The gloves should be nitrile or leather to offer sufficient durability and grip while preventing cuts and scrapes from rough surfaces.
A high-quality dust mask, preferably an N95 respirator, is essential for filtering out harmful dust particles that can lead to respiratory issues. Additionally, wearing a hard hat is advisable if you're working under conditions where debris might fall.
Long sleeves and pants shield your skin from direct exposure to irritants and potential chemical burns from old render materials. Finally, confirm your work area is well-ventilated to disperse dust and fumes efficiently.
Aftercare and Disposal Tips

After removing render, it's important to manage the waste responsibly and clean the site thoroughly to prevent environmental contamination and maintain safety.
Proper render cleanup involves segregating the debris based on material composition. Hazardous materials, like lead-based paints or asbestos-containing renders, require specialized disposal methods. You'll need to contact certified hazardous waste disposal facilities to handle these materials safely.
For non-hazardous render waste, consider recycling options. Many facilities can process old render into aggregate for use in construction projects. Make sure you transport the debris in sturdy, leak-proof containers to prevent spillage during transit.
After disposal, thorough site cleaning is vital. Use industrial-grade vacuums equipped with HEPA filters to capture fine particulates from the air and surfaces. This step helps reduce health risks associated with airborne dust. Additionally, wash down all surfaces with a pressure washer to remove any lingering particles, making sure that drains are protected to avoid contaminating water sources.
Always wear appropriate personal protective equipment during cleanup, including gloves, masks, and protective eyewear. Dispose of or decontaminate your gear according to manufacturer instructions or local regulations.
Following these guidelines not only guarantees compliance with environmental laws but also safeguards your health and that of others around the site.

When it comes to choosing the right plasterboard for your bathroom, there's a lot to consider. A recent survey from Read more

Have you ever wondered why plastering is so expensive? It can be a daunting task to tackle on your own, Read more

Painting directly onto plaster can be a daunting task, especially if you are not familiar with the process. While plaster Read more